How to animate SVG icons without writing CSS (or paying monthly)
Adding motion to SVG icons usually means one of three bad options: learn SVGator's timeline editor, hand-write @keyframes, or give up and use a static icon.
Here's a faster way using AutoKit — drop a flat SVG, the tool auto-assigns entrance and loop animations to each element, shuffle until you like it, copy the CSS or export the animated SVG.

The problem with existing tools
Typical SVG animation tools
→ Timeline editor with a learning curve
→ Monthly subscription required
→ Animate element-by-element manually
→ Export locked behind Pro tier
→ CSS copy-paste libraries need coding
AutoKit
→ Drop SVG, animations auto-assigned
→ Shuffle to discover combinations
→ Per-element override if you want control
→ Copy CSS free (with watermark)
→ $9 lifetime for SVG export + clean CSS
If you just need "some icons with motion" for a landing page, you don't need to learn a timeline editor. AutoKit picks sensible defaults and lets you shuffle until one feels right.
Step-by-step: animate an SVG with AutoKit
1. Drop your SVG
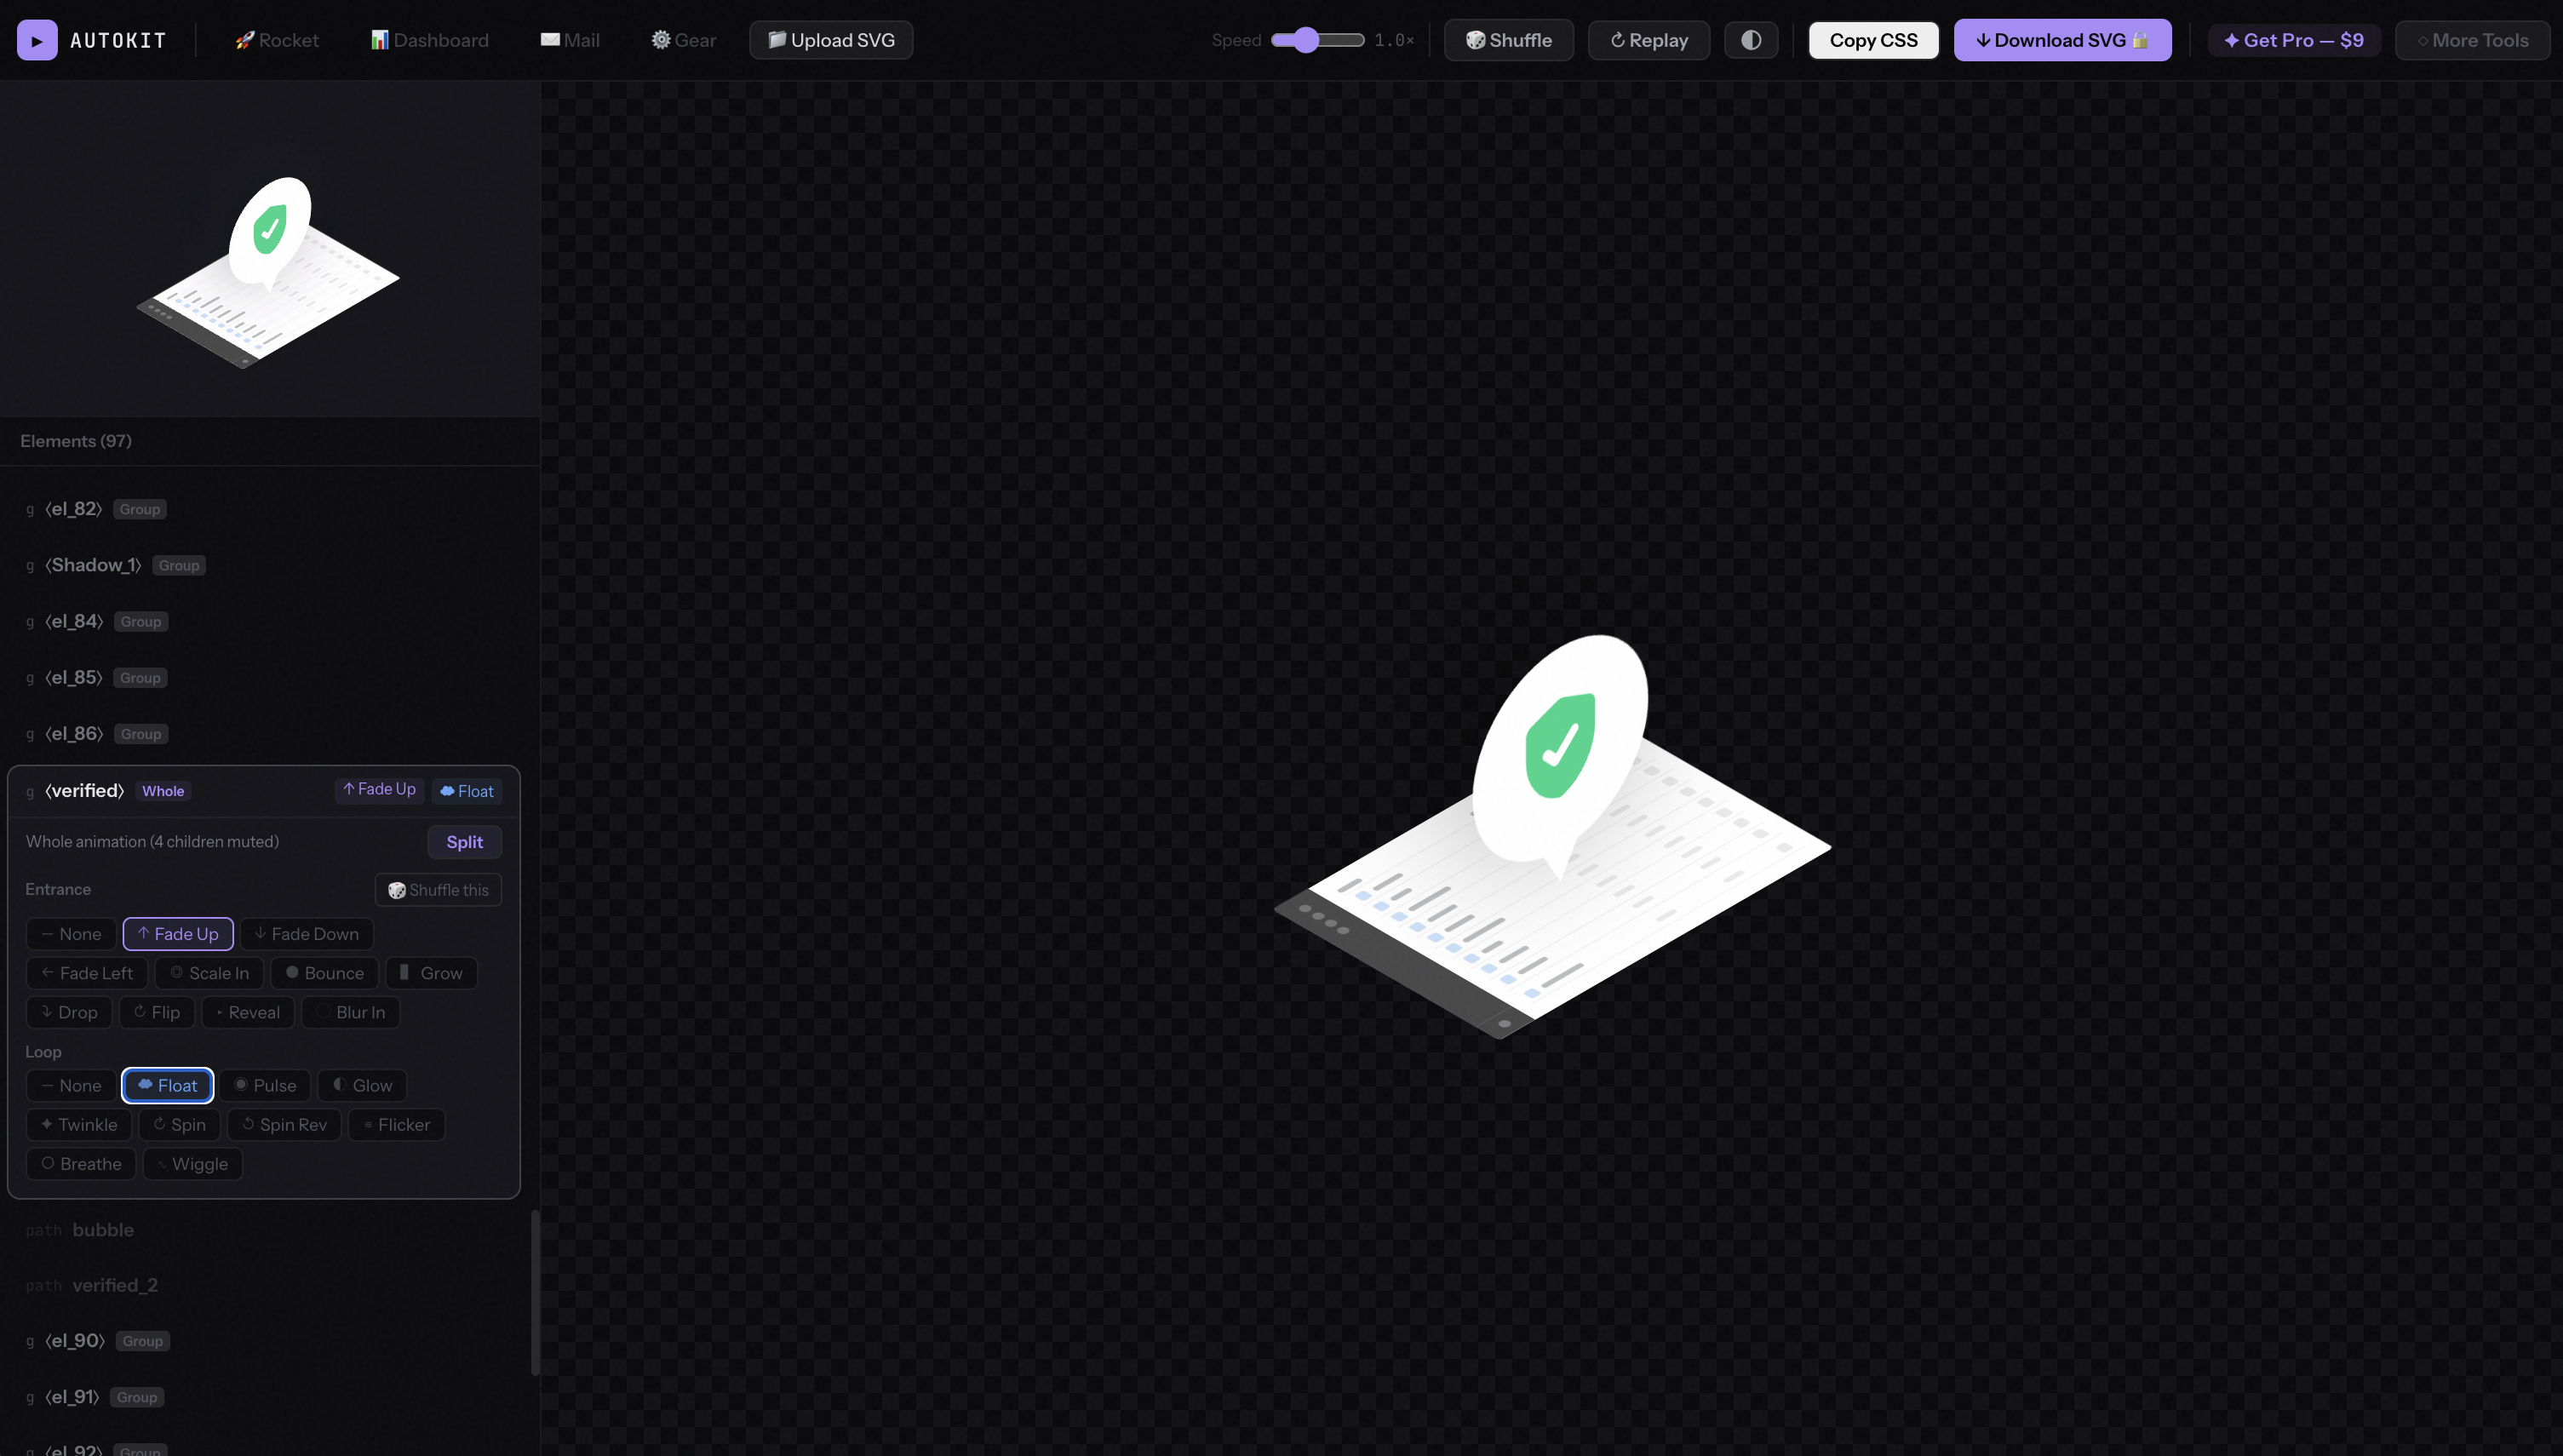
Open auto.ohiyo.app and drag an SVG in, or pick one of the sample icons (rocket, gear, dashboard, mail). The tool detects every element inside and lists them on the left.

2. About the elements list (you can ignore most of it)
You'll see every <g> and <path> in your SVG listed. You don't need to name anything. AutoKit auto-assigns sensible animations to every element based on its size and shape.
If your SVG has groups, you'll see a Whole / Split toggle on each. Whole animates the group as a single unit (much simpler — pick this if your SVG is busy and you want one clean motion). Split animates each child individually (more dynamic but can feel chaotic with complex icons).
Lazy tip: if your SVG is from Figma / Illustrator and has unnamed paths like el_42, just leave it. Pick Whole on the top-level group and you're done.
3. Tune the speed
Default loops play at 1.0× — pleasant but a bit slow for hero sections. Drag the Speed slider at the top to 1.5× or 2× for more energy. Most "alive" animations feel best around 1.5–1.8×.
4. Shuffle until you like it
Don't love the current combination? Hit 🎲 Shuffle. The tool picks new animations for every element. There are 10 entrance styles × 10 loop styles per element — most people find a good one within 3 clicks.
5. Override anything (optional)
If one element feels wrong — the gear should spin instead of float — click it on the left and pick a specific entrance/loop. The rest stay as auto-assigned.
💡 Power tip: click directly on the SVG preview to select that element. Useful when your icon has many unnamed paths and you can't tell el_42 from el_43 in the list.
6. Download
Hit ↓ Download SVG at the top right. You get one self-contained .svg file with all CSS keyframes baked in — drop it into any HTML, React component, or static site. No JS dependency, no external fonts, just a single asset.
Which animation for which element?
If you're overriding manually, here's a cheat sheet:
Entrance (plays once on load)
- fadeUp / fadeLeft — text, buttons, anything that should "arrive"
- scaleIn / scaleBounce — badges, icons, things that should "pop"
- growUp — bar charts, progress indicators
- dropIn — hero elements, attention-grabbers
- clipReveal — lines, arrows, signatures
- blurIn — large background elements
Loop (continuous subtle motion)
- float — default for "alive but calm" feel
- pulse / breathe — call-to-action badges
- spin / spinR — gears, loading indicators
- twinkle — stars, sparkles, small accents
- flicker — flames, energy effects
- wiggle — playful elements, hover-like motion
Rule of thumb: one or two elements should have loops, not every element. Motion on everything becomes visual noise.
About the pricing
Straight-up: Copying CSS is free (includes a small watermark comment). Downloading animated SVG file is $9 lifetime. No trial, no monthly fee.
Why the SVG export is paid: it's the format you'd drop directly into a React component, a Figma prototype, an email template, or a static site. If you're just playing or testing ideas, the free CSS output is exactly what you need.
7-day refund, no questions asked. If AutoKit doesn't match your workflow, email support@ohiyo.app and you get your $9 back.
Related tools
AutoKit is part of Ohiyo — a small set of browser-based SVG tools:
- IsoKit — turn flat SVGs into SaaS-style isometric graphics
- Animated isometric icons — combine IsoKit + AutoKit for animated iso graphics (with demo video)